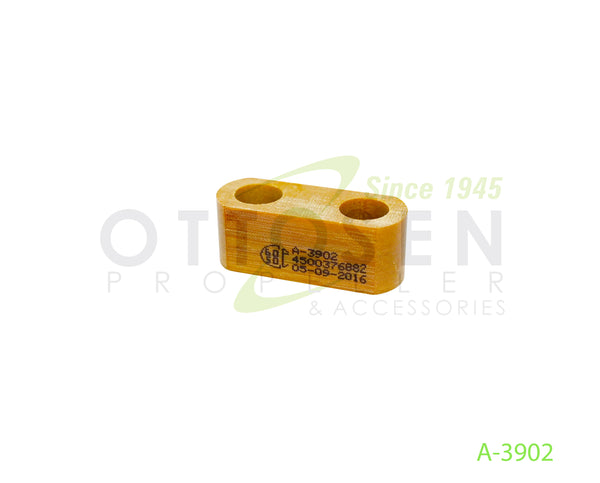
Цессна 182, сломалась тяга , которая меняет шаг.
Она пластиковая. Их там две.
Может кто знает, как разобрать , и где найти замену?
Пропеллер McCaley 2A34С203-C/G-90-DCA-8
Посмотреть вложение 481467Посмотреть вложение 481468Посмотреть вложение 481469
2. Disassembly of Propeller
A. Disassemble Propeller
(1) On oil filled models, remove the fill plug and drain the oil into a suitable container.
(2) Apply blade wrap to cover at least six inches (15 mm) of each blade outward from the hub.
(3) Remove screws (1), tubes, (3), cylinder mounting ring (2), that secure the cylinder (8) to the hub.
(a) Discard the screws (1).
(4) On oil filled models, remove the screws (30 or 34).
(5) Pull the cylinder (8) off the hub.
(6) Remove gasket (9) and discard.
(7) By hand, rotate the blades toward low pitch. This will force the piston (14) forward.
(8) Insert the B-4092-1 roll pin tool into the hub opening.
(9) While you support the piston, drive out the roll pins (16) that secure the piston rod pins (15) to the piston (14)
(10) Remove the piston rod pins (15) from the piston (14) and link (17).
(11) Rotate the blades toward high pitch until the links (17) are approximately half way out of the piston slots.
(12) Grasp the piston and remove it and all attached parts from the hub.
WARNING: The spring is compressed and incorrect disassembly could cause injury.
(13) Put the piston aside for later disassembly. Refer to Disassembly of Components
(14) Remove the lockwire from the actuating pin assembly (60) screws (59).
(15) Remove the screws (59) that secure the actuating pin assembly (60) to the blade butt.
(16) Carefully remove the actuating pin assembly (60) from the blade butt with the link still attached.
LINK тут в Спрусе вроде продают, Только не советую заниматься этим самостоятельно , разобрать может и получиться , а собрать так как требуется - необходимы "приспособы" и опыт или опытный специалист. Потом этот "линк" почему- то поломался и без полной дефектации со снятием лопастей сборка, как по мне - не имеет смысла.,


